Monday, July 24, 2017

Brewster Buffalo F2A-2/Mk. I, Tamiya Kit No. MA119, 1/48 Scale


This may have been the oldest kit in my stash.  The  sprues are dated 1974.  This is the same year Scalemates.com gives as the “new tool” date.  I am sure I bought this kit decades ago.  The yellowing of the decals shows this kit’s age, and the back of the sheet is stamped “0181”.  That is how they used to date decals, i.e., January 1981.


The kit really shows its age.  What was rather excellent in 1974 is not so excellent today.  The biggest issue being the indentations in the moldings.  I literally had to fill in the landing gear struts as the plastic shrunk as it cooled leaving indentations.  I filled in many of these voids, but finally decided I had to leave well enough alone. 

Also typical of older kits, ejection pin markings abound, and they need to be scrapped away and/or filled.  Or, in some cases, removal would have caused more damage than I wanted to repair and they were left in place.


Finally, the plastic used to mold this model is brittle and not the nice, easy to work with plastic of modern Tamiya kits.

The instructions are totally in Japanese.  I downloaded a set of instructions from the Tamiya website for one of the current releases of this kit.  That gave me the “translation” I was seeking to see what colors they were calling out.

All of the above being said, I really like this model.  It is the only 1/48 scale model of the Buffalo available, except for the now out-of-production Classic Airframes kits.

Here are some under-construction photos:


Markings for my model came from Aeromaster 48-625 “Buffalos Over South East Asia”.  I opted for one stationed in Singapore in late 1941. 

I really miss the Aeromaster line.  I know some of the Internet “experts” have referred to them as “Errormaster” based on their sometimes dubious research.  That has not been my experience.  How often do we have color photos of the actual aircraft we model?  And if we do, how accurate are the photo colors after more than seven decades?

Another product used was Montex Mini Mask No. SM 48128 for the canopy and under fuselage window.  I hate to trash any product, but these were a real disappointment.  


Normally I use Eduard masks, which are excellent.  I could not find one in stock when I was getting ready to work on this kit.  So, I bought the Montex product, which looked pretty good.  The Montex masks are black vinyl and much thicker than the Eduard kabuki tape.  Therefore, they do not snug down on curves the way the kabuki masks do.  I had a few spots they kept popping up.  They were not sized properly and were often too big.

They also had the tendency to pull up the paint on the area next to the masking, even when I attempted to trim the edge of the mask with a #11 blade.  The material  really clings to the plastic and needs to be pried up with a knife (unlike kabuki tape that comes up with a toothpick).  I ended up painting some Tamiya masking tape, cutting it into thin strips and using it to replace the places on the bottom window that pulled away.  I should have done that in the first place and saved all the fooling around with the Montex masks and gotten a better looking job!

To be sure, the many very thin frames on this model contributed to the difficulties.  None the less, I will not use Montex masks in the future.  As Cramer says on his stock market show, “Don’t buy!  Don’t buy!”  (The few sets of Montex masks I had are now in the landfill.)

The chubby little fighter had to hold the line in the Pacific during the early months of the war.  The Marines had them on Wake Island, and the British had them at Singapore and elsewhere, while the Dutch had them deployed in the Pacific with the "Military Air Service of the Royal Netherlands East Indian Army” or ML-KNIL.  The Marines regarded the Buffalo as a flying coffin.  The British were losing possessions at a breathtaking pace, and they relied on the Buffalos which were no match for more modern and better flown fighters.


Many of the Allied pilots flying the Buffalo had little experience with the aircraft, and that may account for some of the poor performance.  In modern parlance, however, you cannot put lipstick on this particular pig.  It simply was not a good aircraft.

Finland was the only country that had success with the Buffalo.  Finnish pilots racked up impressive scores flying the Buffalo against the USSR.

The markings I chose were for a Brewster Buffalo Mk I from 488 Sqd, RNZAF, flown by Pilot Officer Noel C. Sharp,  at Kallang, Singapore, in late 1941.  (For those who are more recent graduates of the American education system, Singapore was a great fortress that the British thought would not fall to the Japanese.  Unfortunately, its guns were aimed at the sea, and the Japanese army arrived from the landward side - many riding bicycles to cover terrain faster - where there was little in the way of fortifications.  In the end, hubris felled the fortress.)

I weathered the model very little, as the real Buffalos were not in service that long, only a few months.  Ultimately this particular aircraft was rendered un-flyable before its capture by the Japanese.
Even the less than successful aircraft of WWII were part of history, and I am glad to have the Buffalo in my collection, built up at long last.

These are new photos I took.  The first ones I posted were not as good.  Also, I painted the pilot figure that came with the model, something I usually do not do.  But, I have been painting a few fugures to place with the models on display to show the actual size of the real aircraft.


As always, thank you for visiting my blog, and I look forward to any comments.

Sunday, July 9, 2017

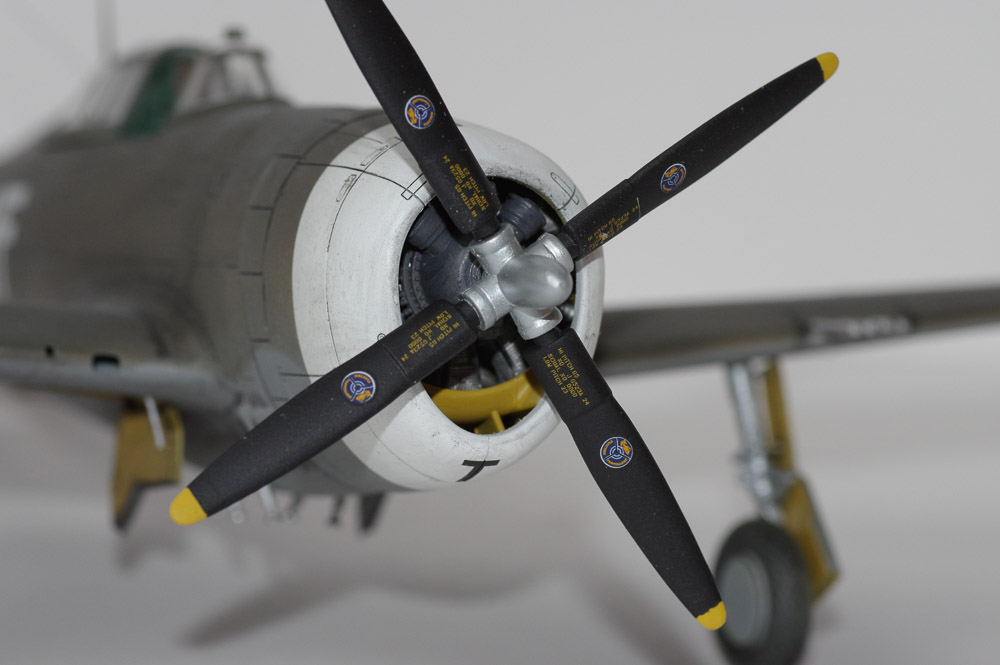
Hasegawa P-47D Razorback, 1/48 scale, Kit no. 09302


Ever since I read Thunderbolt! by Robert Johnson, one of the European Theatre’s leading aces, the “Jug” has been a great favorite of mine.  Armed with eight .50 cal. Browning M-2 machine guns, it is hard to imagine the damage it inflicted while serving on all fronts.  Johnson tells how during his training, they only armed one gun on each wing.  He never fired all eight at once until he flew some fighter sweeps across the Channel into France as part of his final preparation and training when he was sent  to Europe.  The idea was to let the new pilots fly some “easy” missions before they got fully involved with longer penetration into occupied Europe.  On one of these early missions, his flight was jumped by some German fighters.  Johnson chased one of the them and got close enough to fire his guns.  He immediately evaded and dove away as he thought his plane was being hit by fire from another fighter.  Somewhat chagrined, he soon realized that he was not being hit by enemy fire.  He was experiencing the awesome vibration and noise of eight M-2 guns being fired at once from a fighter plane.

This kit has been around for some time in my stash.  It is not currently available from spruebrothers.com, but the Bubbletop version is.  I am sure it will return.  They all seem to, don’t they?

Also, in my stash was an AeroMaster sheet no. 48-389, “4th Fighter Group - The Early Days, Pt.1”.  The aircraft that caught my eye was “Donnie Boy” flown by Lt, Don S. Gentile of the 336th Fighter Squadron in February 1944.  Gentile flew Spitfires in the No. 133 (Eagle) Squadron and became the 4th’s leading ace with 21.883 kills.  He survived the war, but tragically died testing a new jet aircraft a few years later.  His P-51B Mustang with the long white sash festooned with a cross for each German he shot down has been the subject of probably thousands of P-51B models over the years.

The only other “extra” in this model is a resin seat with harness from Ultracast, which is an improvement over the kit seat and decal marking for seatbelts.

I used Tamiya Panel Line Accent Color (Black) to weather the model some.  I like the results, although I could have been neater.  It was a good first try.

If this kit can be found for reasonable money (some of Hasegawa’s current pricing is just plain nuts), it is a great addition to any 1/48 scale collection of WWII aircraft.


Friday, April 14, 2017

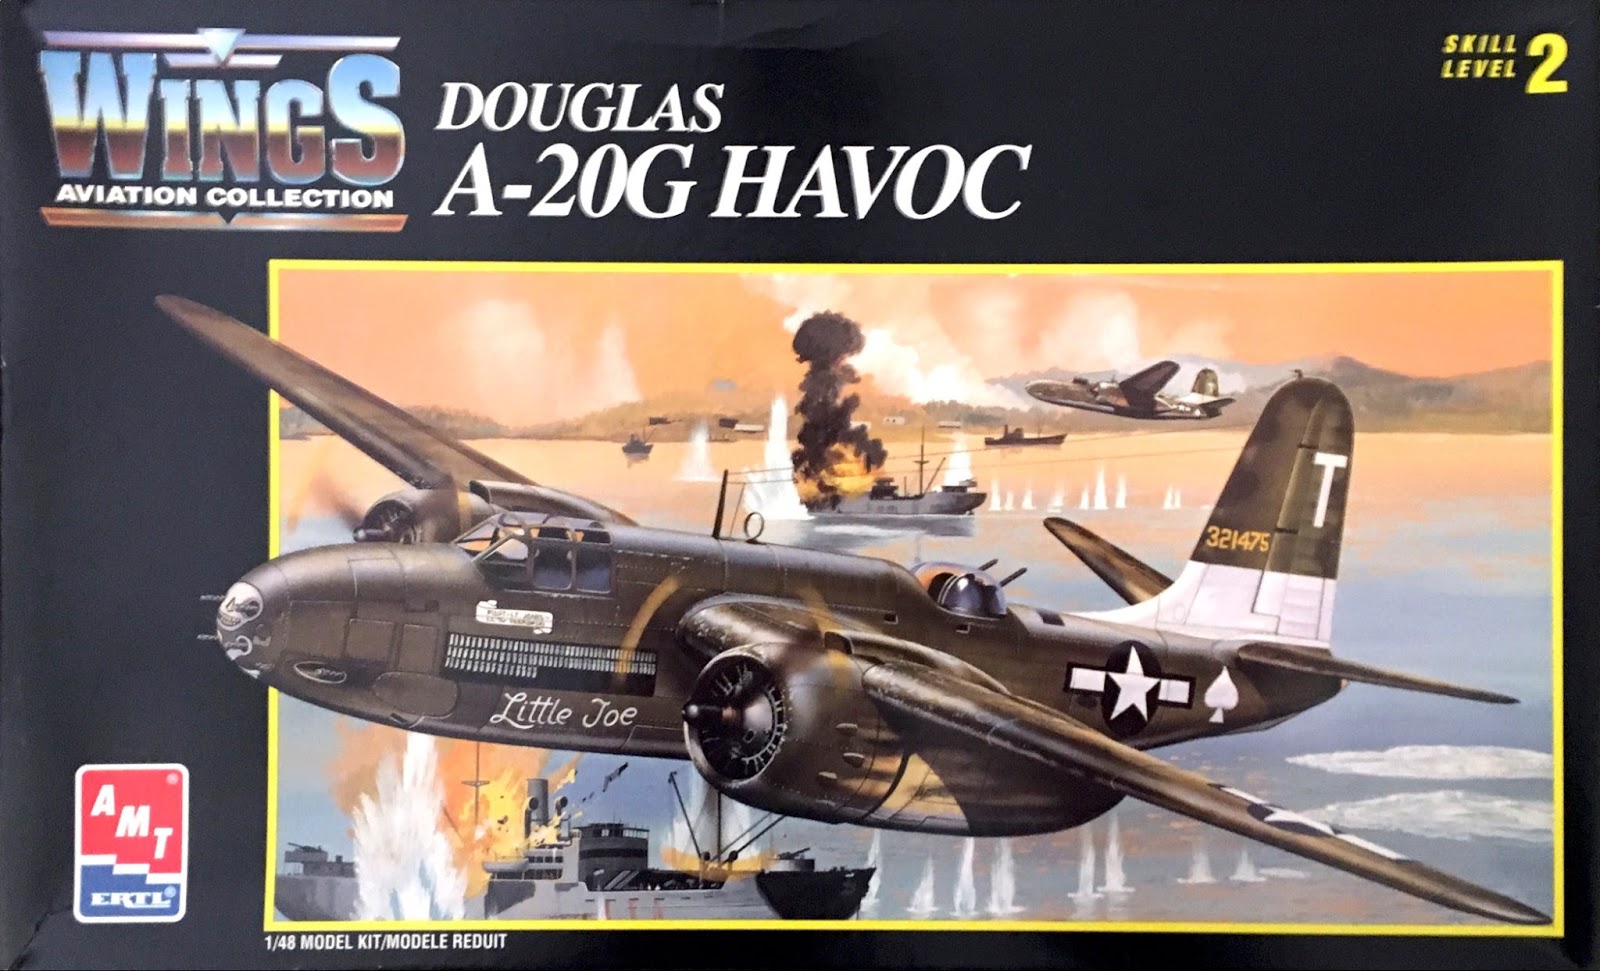
AMT/ERTL A-20G Havoc, 1/48th Scale, Kit No. 8894


In the early 1990’s, FineScale Modeler magazine ran their annual survey asking what aircraft the readers would like to see “kitted” and in what scale.  The decided majority said an A-20 Havoc in 1/48th scale.  That was the No. 1 choice that year.  And, in 1994, it appeared, but from an unlikely source - AMT, the car kit manufacturer. This kit has been in my stash for quite a long time, although not since 1994 as I have the AMT/ERTL version, which came along years later.  (This was during my kit collector phase when I was doing all sorts of other things other than building.)

Why so many requests for the Havoc?  Who knows?  It was on my list of wants probably because they look so fascinating.  The aircraft had a single pilot, two huge radial engines and they bristled with guns.  There are many famous photos of Havocs attacking Japanese ships in the South Pacific with guns blazing and bombs skipping into exploding ships.  There are also Havocs that served with the RAF Desert Air Force.  The USSR Air Force received the lion’s share of Havoc “G” model production.  But still, the Havoc was not as famous as the B-25 Mitchell or the B-26 Marauder.

Over the years, I collected some aftermarket items for this kit.  The first was decals from Superscale, , No. 48-1168, A-20G Havocs.  Then, the wheel and life raft resin set from True Details.  And when I recently decided to build the kit for real, I obtained a resin pilot’s seat by RESIN2detail (from eBay) and Quick Boost gun barrels (also via eBay).

And, of course, a set of Eduard masks, which are a necessity for a model like this with the amount of glass one has to cover.  I even use Eduard masks on little 1/72 scale fighter.  They save so much time and hassle.


Life raft?  Yes, refer to the photos of the area behind the pilot’s seat.  There is a yellow life raft on that shelf.  Considering that those aircraft operating with the USAAF in the Pacific were over water constantly, I am sure the rafts came in handy for downed crews.

And this is a curious thing about this kit.  There are some areas when the kit (now nearly a quarter century old - okay - excuse the hyperbole) where there is a lot of detail, like the gun turret.  The cockpit is fairly well detailed.  They even included a long-range tank for under the fuselage (that would have been used for ferrying the aircraft as it blocked the bomb bay).  So, why leave an empty shelf behind the pilot's seat where there is a glaring empty space for all the see and not include the life raft?  It is almost as if someone interrupted the mold makers and said “Speed it up and stop wasting time on too many details.”
By the way, AMT issued a 1/48th scale kit of the B-26B Marauder just at the same time Monogram released theirs.  I wonder how good a kit it might be?  They show up on eBay now and then. 
I think I will go back to Vallejo.  I have trouble finding the proper ratio of thinner to paint with some Model Master Enamel or Acryl colors.  For whatever reason, I have an easier time with Vallejo Air paints.  And cleaning up enamel paints is too smelly.

Last year, I completed a Monogram 1/48th scale B-25J Mitchell.  I expected the Havoc to be a similar kit.  It wasn’t.

First, the surface detail is finely done recessed panel lines, not the raised lines of the Mitchell.  The detail on some parts is better on the Havoc, and generally more finely detailed than the Mitchell where they chose to detail the Havoc.  The Mitchell’s wheels are much more realistically molded, however.  And the Mitchell bomb bay is reasonably detailed, while AMT left the interior detail out on the Havoc.  The Havoc has a few bombs linked together on an non-scale frame but no side wall or ceiling detail.  That is one reason why I left the bomb doors closed on the Havoc.

Second, the fit of the Havoc parts is far better than the Mitchell.  I used very little putty on the Havoc, and the engine nacelles fit the wings rather well.  The Mitchell required a fair amount of putty.

To be fair, the Mitchell molds are about 17 years older than the Havoc.  And, neither kit is a bad kit and both look great when finished.

I am very pleased with the finished model.  Here is the finished product.


As always, thank you for looking.  Comments are welcome.