This kit made its debut in 2002. I would consider it among the “new” kits in the Tamiya line, as opposed to the kits from the 1970’s still in production. By that I mean newer kits have some extra accessory parts, fewer molded-in details, and tracks that are glued with plastic cement.
Which is not to say I am knocking the older kits, many of which are available and still good kits, like the M16 Multi-gun Motor Carriage (if you can find it).
There are no nits to pick here. The frank fact is Tamiya makes some the finest plastic models on the market today. For whatever reason, this kit was not available from any US distributor, so I ordered it from Japan via eBay.
The M26 Pershing arrived in Europe in 1945 and was involved in some actions at the end of the war. The most important of which was the taking of the Ludendorff Railroad Bridge over the Rhein River at Remagen, Germany. They supplied fire support as the infantry expanded the pocket and held on until reinforcements arrived. Their heaviest use in combat came in Korea where they served with the U. S. Army and the Marines. Markings for both WWII and Korean War Pershings are included in the kit.
The tank has always interested me as I saw them in Korea in the mid-1960’s when I served there in the Army. Some of the old tanks were dug in up near the DMZ. Only their turrets were showing, and it was said they guns were bore sighted at particular points. If the North Koreans came south, several rounds would be fired at this targets (mostly road junctions and choke points) and the abbreviated crew would hop in a jeep and head south. Or at least that is what we were told about them.
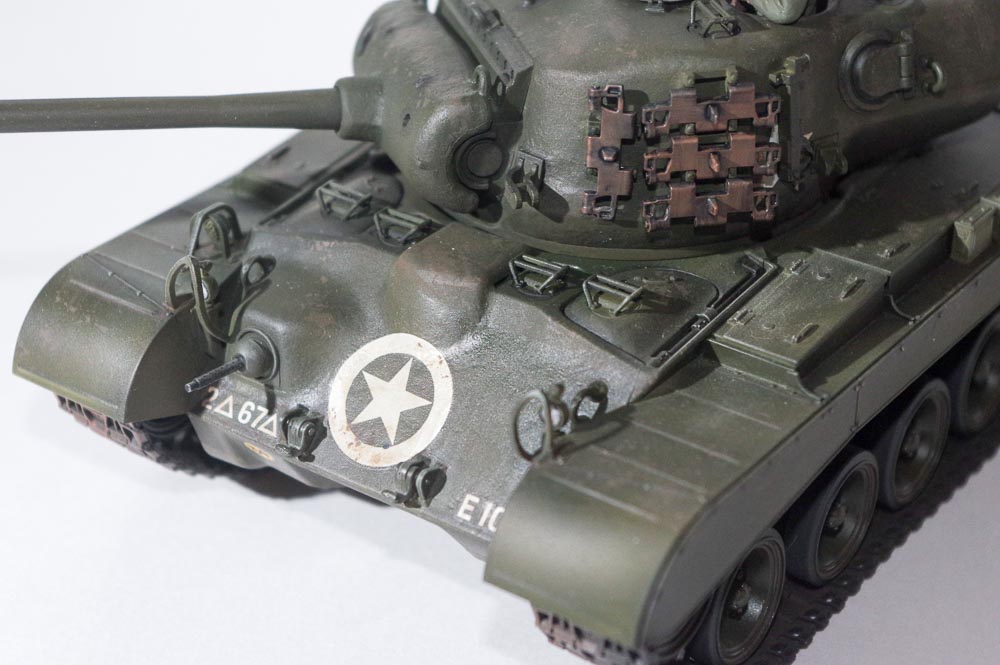
I finished this model with Tamiya olive drab over Tamiya “rattle can” surface primer. The surface primer sprays beautifully, levels out, and guns a very resilient base coat. I will be using more in the future.

I highlighted the model using Tamiya panel line fluid in black and dark brown. This is great stuff. I applied it after the olive drab was covered with Microscale Satin Clear Finish, which comes up a nice semi-gloss. It provides a barrier. After the panel line fluid is applied, a brush slightly moistened with mineral spirits is used to blend it into the surface. It looks great when done. I applied some “chipping” with Vallejo dark brown and the a final coating with Vallejo Model Wash European Dust (applies with a flat brush in a very thin coat). All of this effort really makes the details pop out.
Here are some photos. Thank you for looking. Any comments are welcome.


No comments:
Post a Comment